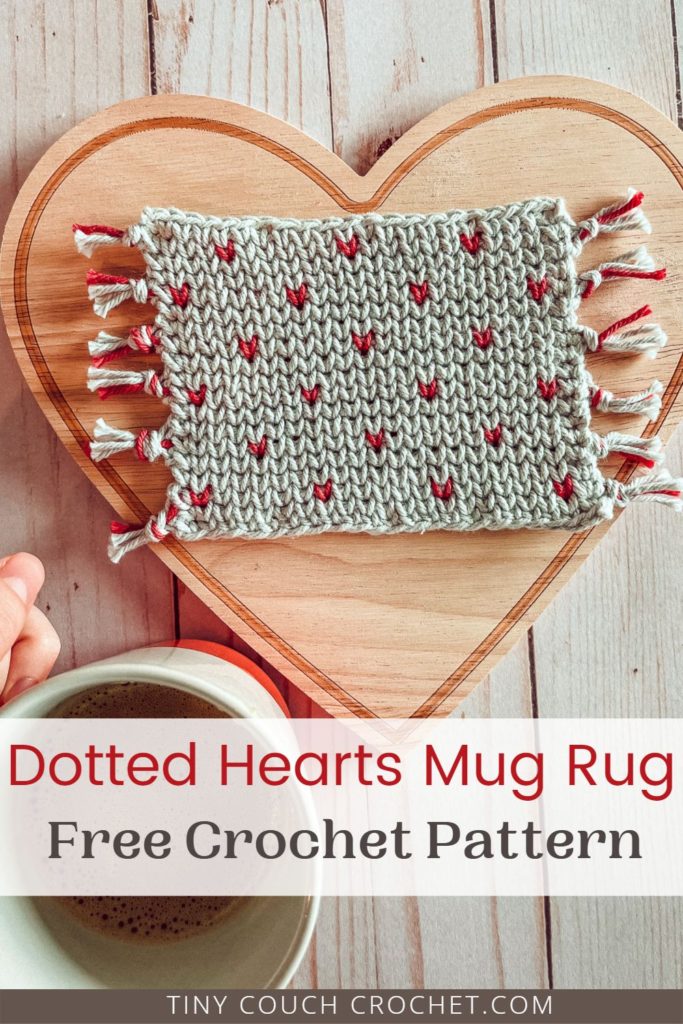
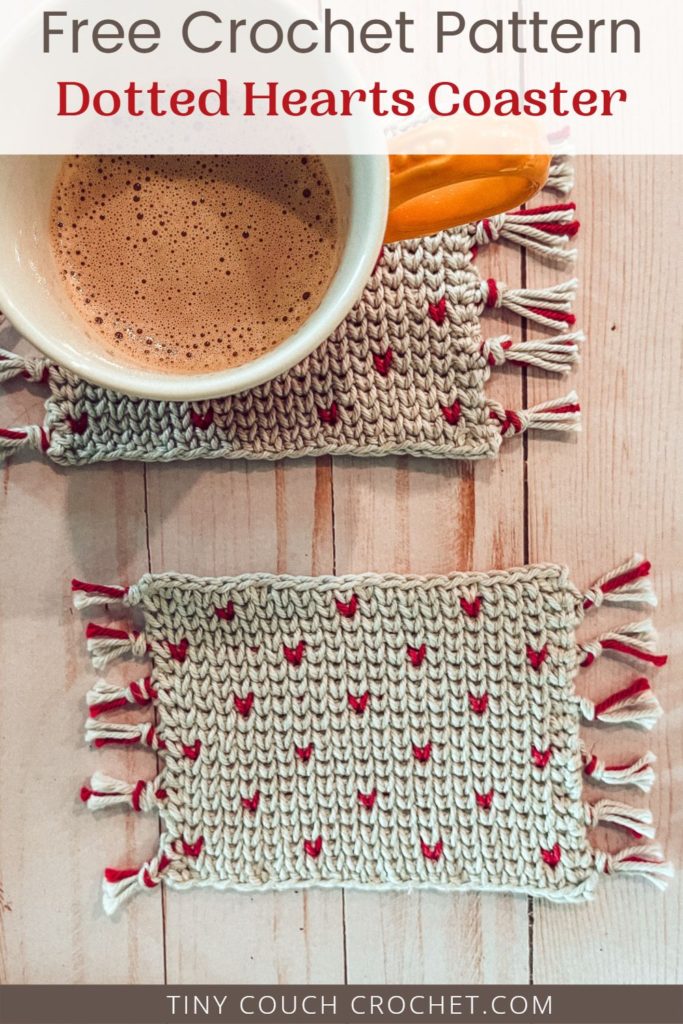
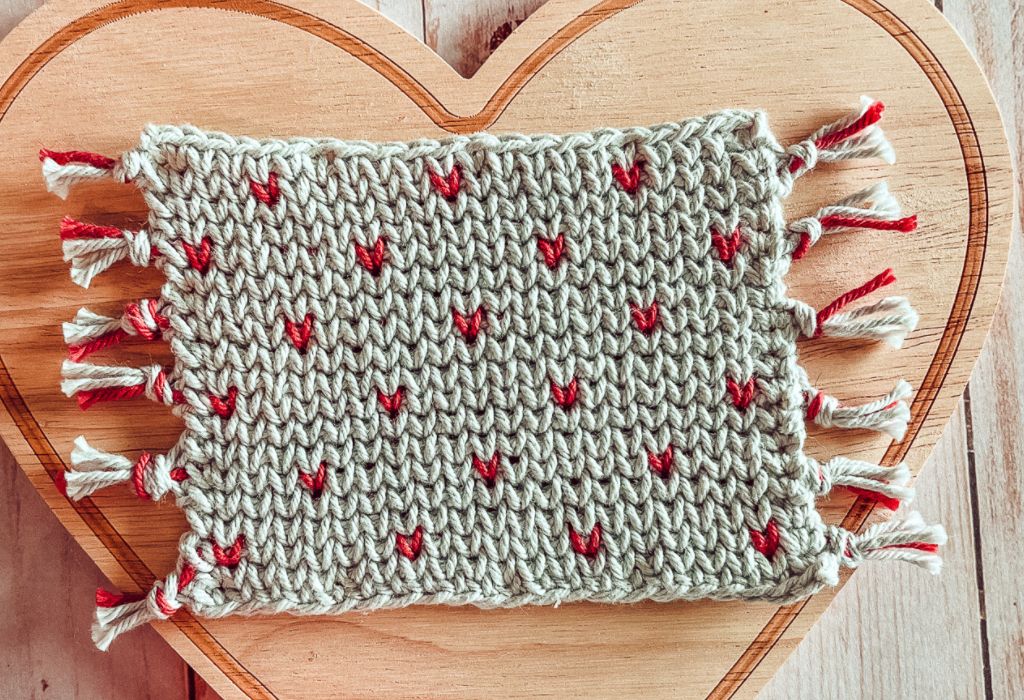
This mug rug/ coaster crochet pattern makes the perfect gift – festive enough for Valentine’s Day, but will also be cute to use all year long! These coasters are also quick to make, and you can make quite a few with one skein of yarn in each color. I can see this being a great gift for a coworker or child’s teacher. Or make a full set for your own home!
The main stitch used in this pattern (Waistcoat Stitch) is typically crocheted in the round – but we are getting away with crocheting in rows by cutting the yarn at the end of each row and reattaching it in the beginning of the next row, so that we are continuously working in the same direction. Don’t worry, we won’t have to weave in all of those ends – they’ll become the signature mug rug fringe!
This post may contains affiliate links, which means I receive a small commission at no extra cost to you if you make a purchase using this link. If you are considering buying the yarn recommended in this post, using the links provided to purchase will help support Tiny Couch Crochet and help us continue to share patterns for free.
Click on the image below to pin it for later!

The Yarn – Dishie
I highly encourage cotton yarn for coasters. This is because cotton can quite literally take the heat! Acrylic yarn is plastic, and can melt under extreme heats. Cotton yarn is a much safer way to go, especially if you will be making these to gift or sell.
I’ve used several cotton yarns for different kitchen projects, but this was my first time using WeCrochet’s Dishie – and oh my have I fallen in love. (Perfect for a Valentine’s themed project, no? 🙂 This cotton yarn is soft but durable, and doesn’t split like some other cotton yarns out there. It’s my new go-to for kitchen items!
You can find Dishie yarn at this link. Note: Colors used in photos are Begonia (pink) and Clarity (gray). 1 Skein of each will make a set of 4 coasters.
Skills Needed
This pattern is an advanced beginner project. If you know crochet basics you can learn to make this mug rug! If you need a crochet refresher, you can find my How to Crochet for Beginners post here.
This pattern uses single crochets and the Waistcoat stitch, also known as the Knit Stitch or Center Single Crochet. It is a modified single crochet stitch, the only difference is where you place your hook to make the stitch. The result is the signature V look that mimics knitting! A photo tutorial of how to do this stitch is included in the pattern below. I also have a full tutorial for the Waistcoat stitch with more photos here.
This pattern also requires color changing and knowledge of how to read a graph, both of which are explained below. Please read the color changing instructions – I do this a bit differently than I normally would so that only the V shape is a different color and not the stitch above.
This project does require blocking to set the shape. Without blocking, it will curl and may not be square. You’ll need pins, some kind of foam board to pin to, and a water bottle. When you’re done with the project, soak it or spray it with a water bottle. Pin it to the foam board or blocking board in a rectangular shape. Let sit to dry for 48 hours. After 48 hours, you’ll have a nice flat rectangular coaster.
Materials
Here’s what you’ll need:
- 2 Skeins of Dishie cotton yarn (1 skein in Begonia and 1 in Clarity), or similar Worsted Weight (Size 4) Cotton Yarn
- Size G (4.0 mm) crochet hook. My favorite hooks are from this ergonomic hook set!
- Scissors
- Blocking board and pins
Gauge & Size:
Gauge is not critical for this project, but it is provided it below:
Gauge: 2″ = 8 stitches and 9 rows
Size: roughly 5.5″ long and 4″ wide (not including fringe)
Abbreviations (U.S. Terminology):
Ch = Chain
St = Stich
Yo = Yarn Over
Sc = Single Crochet (insert hook into next chain or stitch, pull up a loop, Yo and pull through both loops on hook)
Wc = Waistcoat Stitch (insert hook between the bars of the V of the next stitch, see photos below. Pull up a loop, Yo and pull through both loops on hook. Full tutorial here.)
Dotted Hearts Mug Rug / Coaster Crochet Pattern
Notes:
- This project is crocheted in rows by fastening off at the end of each row and reattaching at the beginning of the row, so that you are always crocheting in the same direction. (Never turn work)
- Leave 4″ tails at the beginning and end of each row.
- To fasten off: Chain 1, cut yarn and pull through chain.
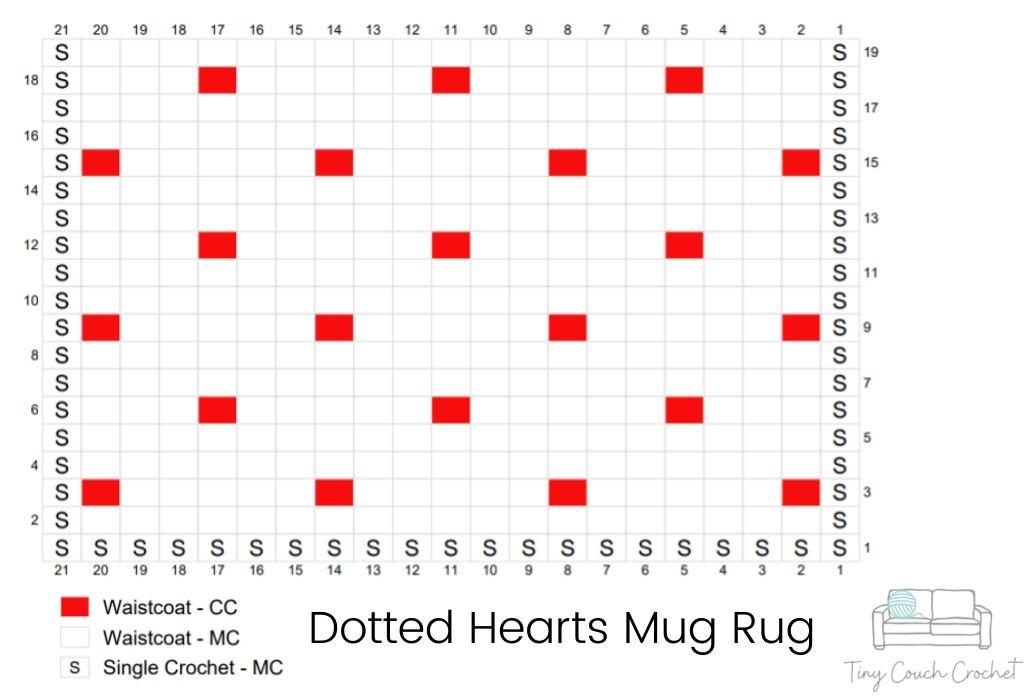
- This pattern uses a graph. Graph is to be read from right to left if you are right-handed, and left to right if you are left-handed.
- This project will curl a little – but this is easily fixed by blocking it once you’re finished. We will also start and end each row with a regular Single Crochet to help keep edges straight.
Starting chain: Chain 22.
Row 1: Working in the back bumps of each chain (see photos below), Single Crochet (Sc) in second chain from hook and each chain across. Fasten off. (21 St)
Row 2: Attach yarn to first stitch of Row 1 with knot. Chain 1, Sc into same stitch you attached to (first stitch), Waistcoat stitch (Wc) into next 19 stitches, Sc into last stitch. Fasten off. (21 St)
Rows 3-17: Repeat Row 2, following graph for color changes. (Scroll down for graph)


Color Changes: Where a row has stitches in the Contrast Color (CC) according to the graph, start the row by crocheting over the CC with the Main Color (MC). When you get to a stitch that should be made with the CC, insert hook into stitch, pull up a loop with the CC, and then yarn over with the MC. Finish the stitch by pulling through with the MC and crochet over CC. Continue to crochet over CC until end of row. See photo tutorial below.


Graph: Use the graph below for color changes. Cells with an S indicate Single Crochets, while the rest are Waiscoat stitches. Work the graph from Right to left, starting in the bottom right corner. (If you are left-handed, you can work the graph from right to left OR left to right – this chart is the same mirrored.)

Finishing: To finish, grab yarn tails in sections of 4 to 5 and tie a knot close to your work. Then trim so that fringe is of equal size. Now block work by soaking or spraying the work with water, stretch to a flat rectangular shape, and pin down corners and edges. Remove after 48 hours and use your flat coasters! 🙂
Looking for more quick patterns? See below!

If you make some dotted heart coasters, please tag me in social media posts so that I can share! I’d love to see them. I am @Tinycouchcrochet on both TikTok and Instagram.
-Ashley

