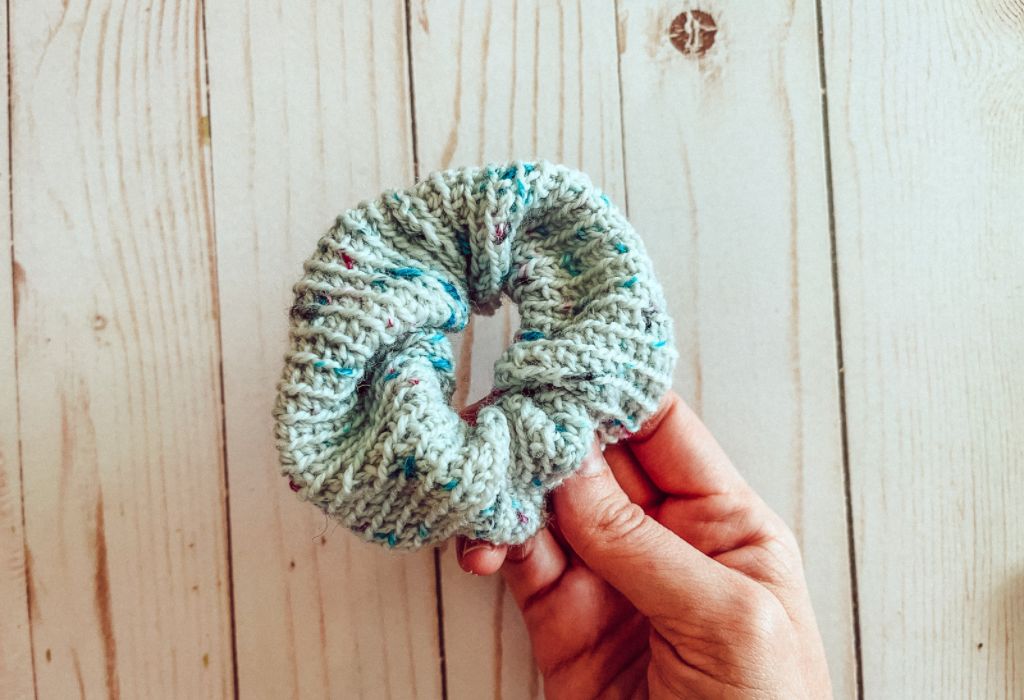
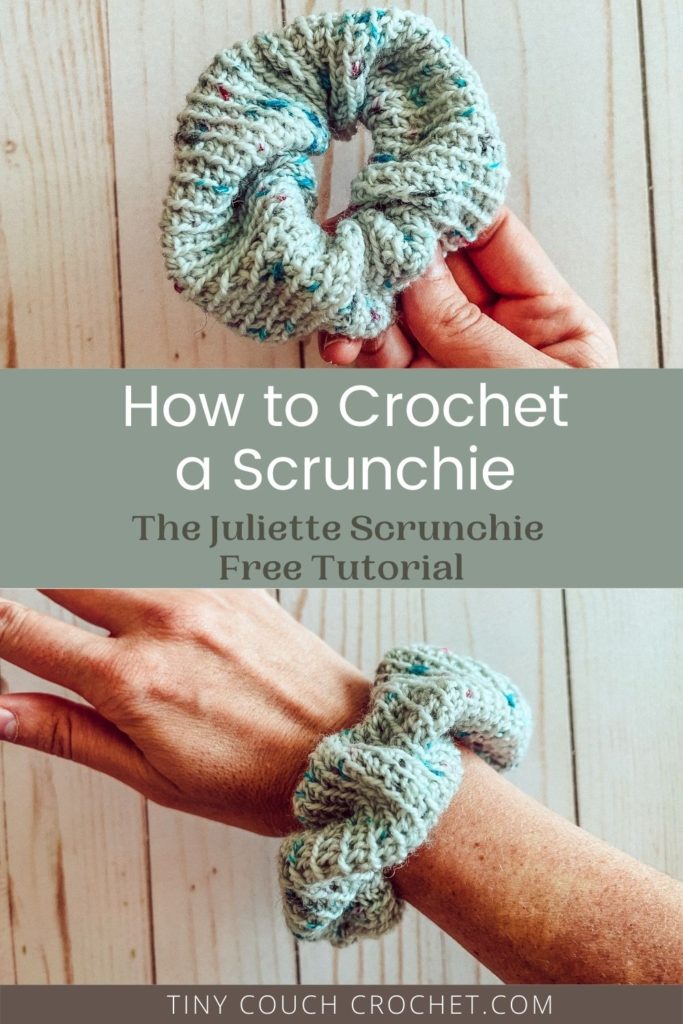
I love a good scrunchie, and who wouldn’t want to be able to make their own? This easy crochet scrunchie method is my favorite way to get a classic looking scrunchie from crochet. Continue reading for info on yarn, hooks, and how to make your scrunchie with just the right amount of scrunch. Or scroll down for the written free scrunchie pattern and photo tutorial.
The yarn I used in these photos is Hawthorne Speckle by We Crochet – but scrunchies can be made with most yarns! I’ll list recommendations below, but wanted to point out that Knitpicks, parent company of We Crochet, is having a Valentine’s Day Sale. Click the banner below and scroll through the options, or grab yourself your own hank of Hawthorne Speckle.
*Quick note – more hair accessory patterns in Hawthorne Speckle yarn are coming. I’ll be calling them the Juliette Hair Accessory collection and can’t wait to have all patterns posted! For now, you can check out the Juliette Hair Scarf pattern here 🙂
This post may contains affiliate links, which means I receive a small commission at no extra cost to you if you make a purchase using this link. If you are considering buying the yarn recommended in this post, using the links provided to purchase will help support Tiny Couch Crochet and help us continue to share patterns for free.
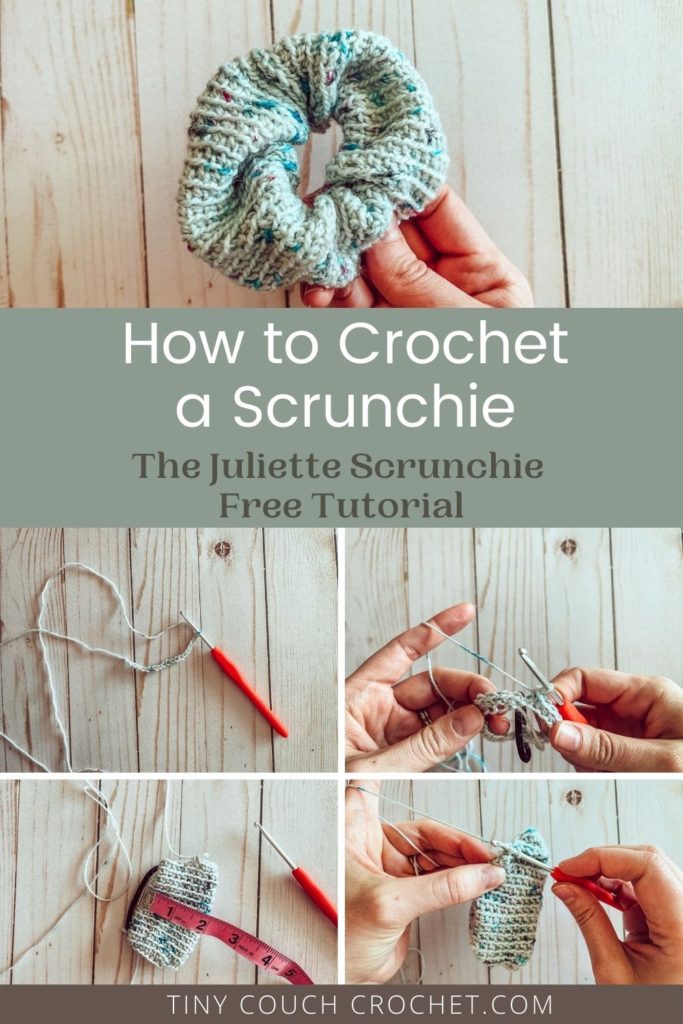
Click on the image below to pin it for later!
Yarn Options
I used a fingering weight yarn for the photos shown here – but don’t panic! This is a great quick, small project to make with a thin Weight 1 or 2 yarn. I rarely pick up a hook size smaller than a G but I did it here, and it really didn’t take long to make. If you have some fingering weight yarn lying around you aren’t sure what to do with, this is a great project to use it in a pretty but practical way.
As mentioned above I used We Crochet’s Hawthorne Speckle in Cosmic Speckle. I also have a hank of Berry Smoothie Speckle waiting to be used, and I have my eyes on the Panettone color for summer! Hawthorne Speckle is a fingering weight yarn that is a wool and nylon blend. The thought of a large project out of fingering weight yarn was intimidating to me – so I am creating a series of small accessories that are quick to make, even with a tiny hook!
But the beauty of this scrunchie is that it can be made with so many yarns, the options are endless! Wool, acrylic, cotton, blends, etc. I’d maybe stay away from bulky yarns but if Weight 1 yarn intimidates you, make one out of some Weight 4 Acrylic you have on hand. Simply use the recommended hook size your yarn label suggests.
Skills Needed
This is a beginner crochet project. If you are looking for an even more beginner project, you can click here for my absolute beginner mug rug pattern. You can also find a how-to-crochet refresher post here.
This pattern uses single crochets in the back loop only, which means you should insert your hook only through the back loop of the next stitch instead of both loops. Check out the photo tutorial below the pattern.
This pattern is also crocheted in the round by making a continuous spiral.
Materials
Here’s what you’ll need:
- 1 hank of We Crochet’s Hawthorne Speckle yarn, or whatever yarn you have on hand (refer to customization notes)
- Size D (3.25 mm) crochet hook if using Weight 1 or 2 yarn. Otherwise match the hook size your yarn label suggests. My favorite hooks are from this ergonomic hook set!
- Hair tie (preferably new)
- Scissors
- Yarn needle
Gauge & Size:
Guage is not critical for this project.
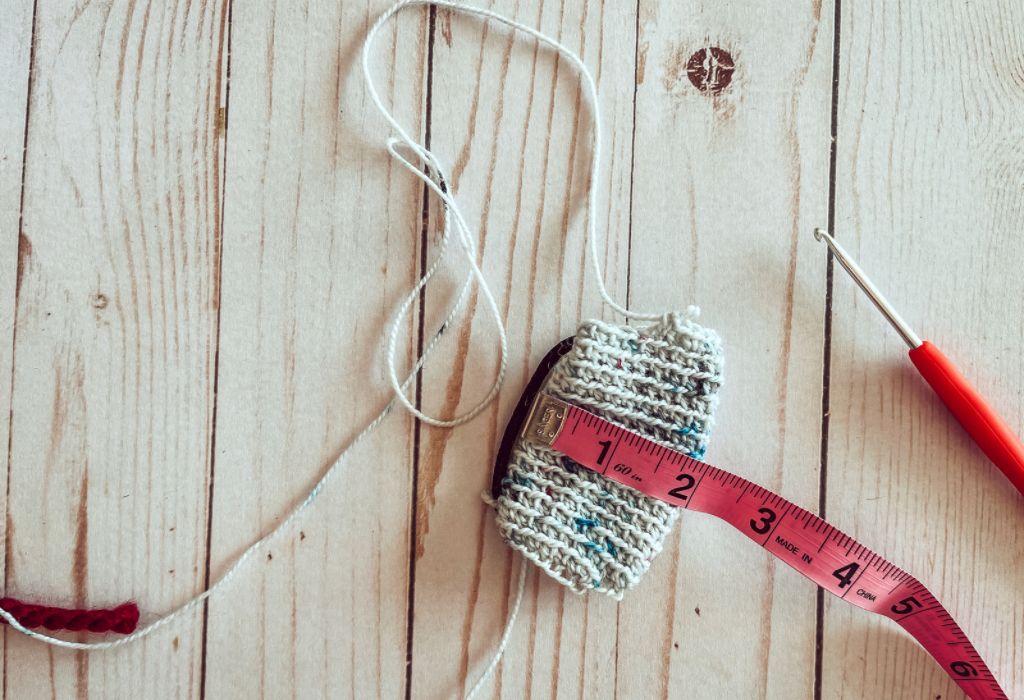
Size: when laid flat, the “tube” you create should be about 2″ wide. See photo under Customization below pattern.
Abbreviations (U.S. Terminology):
Ch = Chain
St = Stich
Sl St = Slip Stitch (insert hook into next stitch, pull up loop through stitch and directly through loop on your hook)
Yo = Yarn Over
Sc = Single Crochet (insert hook into next chain or stitch, pull up a loop, Yo and pull through both loops on hook)
BLO = Back Loop Only (Insert hook into the back loop of the next stitch, or loop furthest from you. See photo tutorial)
Juliette Scrunchie Pattern
Notes:
- Scrunchie is made by crocheting a tube around a hair tie until you have adequate “scrunch”, then slip stitching the ends of the tube together.
- The tube is made by crocheting in continuous rounds – you do not chain 1 to start the next round, but crochet directly into the top of the next stitch. Due to the nature of the project, no need to keep track of rounds – just make enough rounds to make the scrunchie scrunch!
- The entire project is made by crocheting in the Back Loop Only (BLO, see photo tutorial)
- To fasten off: Chain 1, cut yarn and pull through chain.
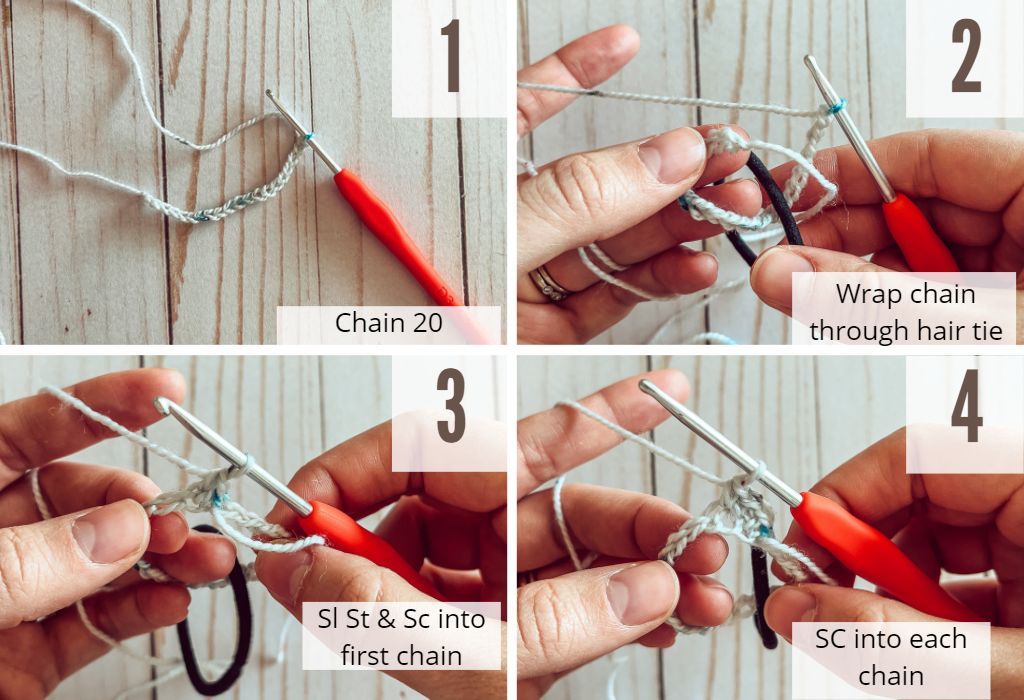
Starting chain: Chain 20.
Row 1: Wrap chain through center of hair tie and Sl St into first chain made so that you create a loop around the hair tie. SC into same chain that you slip stitched into. SC into each chain remaining. (20 St) (see photos 1-5 below)
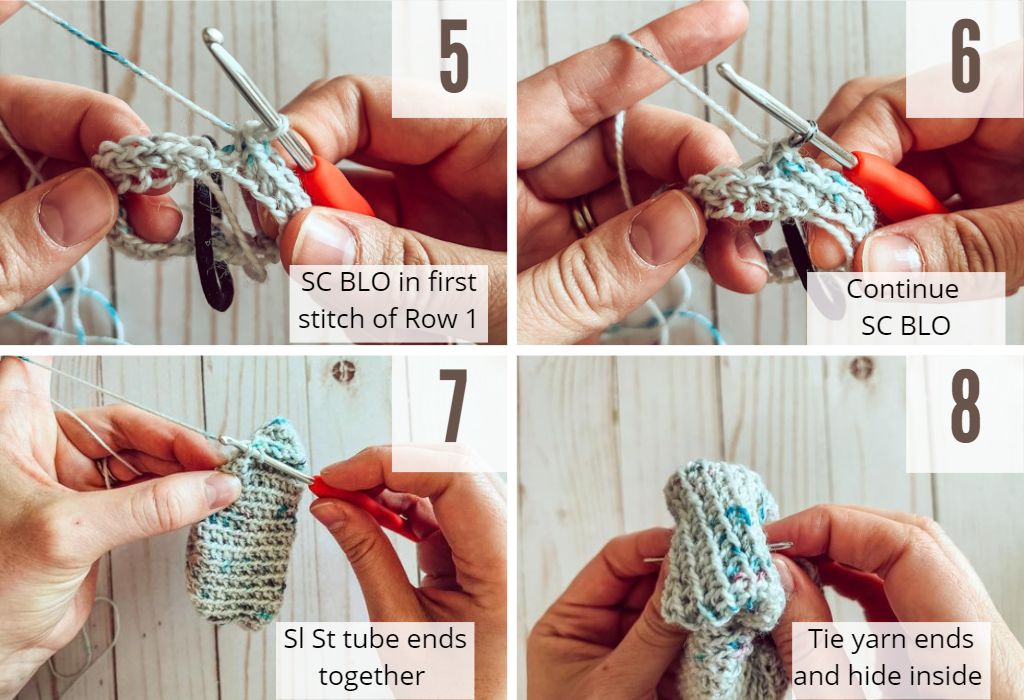
Row 2: (Note: do not slip stitch to first stitch of row 1 or chain 1 – crochet directly into the top of the first stitch of row 1) SC in BLO of the first stitch of Row 1, then SC in BLO of each stitch remaining. (20 St) (See photos 5 & 6 below)
Rows 3 – X: Repeat Row 2. No need to count stitches or rows – continue Single Crocheting in the Back Loop Only of the next stitch until your tube can connect to the beginning AND your scrunchie has scrunch! How much scrunch is up to you. (See photos 7 & 8 below)
Finishing: Once you have a nice bulky scrunchie, slip stitch the ends of your tube together. Fasten off. Tie your yarn ends together then use a Yarn needle to hide them inside the scrunchie (cut off any excess). Scrunchie complete!
Customization:
- For a wider scrunchie: make width of flat tube larger than 2″. For a narrower scrunchie, make width of flat tube smaller than 2″.
- More or less scrunch depends on how many rows you make.
- For alternate yarns/yarn weights, use the hook size recommended on your yarn label. Then crochet more or less starting chains, and crochet a couple rows of the pattern so that you can lay the tube flat and measure the width. If you like the look of the scrunchie in the photos, aim for a flat tube that is 2″ wide.
Check out the rest of the Juliette Hair Accessory Series!
Looking for more quick patterns? See below!
- Hexagon Face Scrubbies – Cotton Makeups Wipes
- 30 minute headband – the Delilah Velvet Headband
- The Hailey Twist Headband
- Dotted Hearts Mug Rug
If you make yourself some Juliette Scrunchies, I’d love to see them! Please tag me in social media posts (@tinycouchcrochet). I’d love to see and share your work 🙂
-Ashley