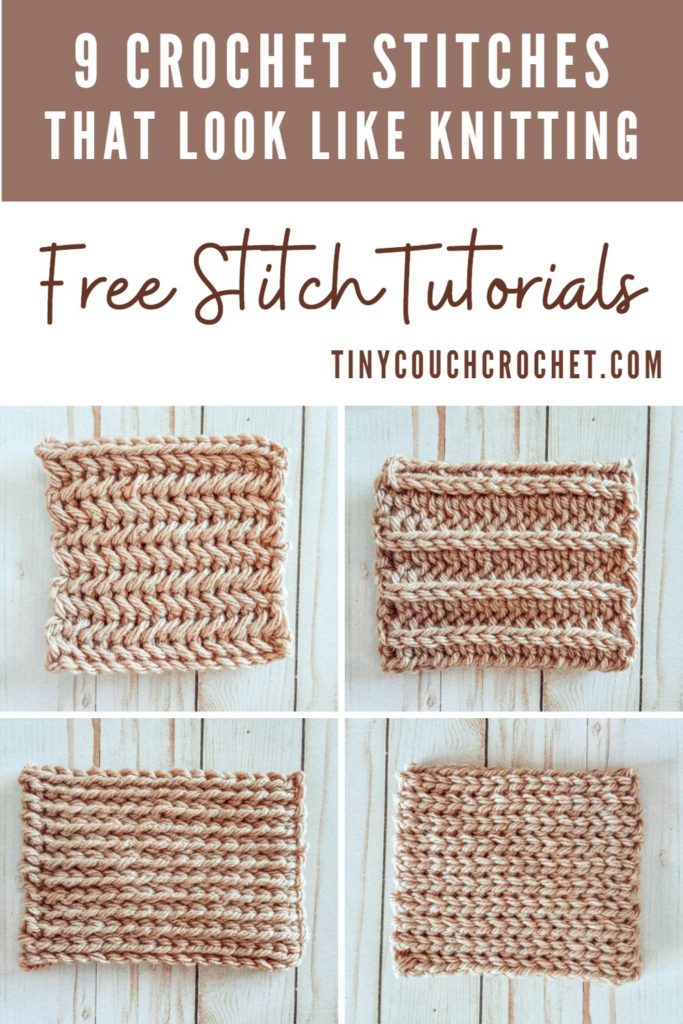
Looking for crochet stitches that look like knitting? While these stitches may not be an exact copy, they’ll let you get a knit feel with your crochet hook. From ribbing to the herringbone stitch, these stitches will give you that knit-like look with your crochet hook!
Scroll down for the list of stitches, all of which include the pattern below or a link to the full pattern tutorials.
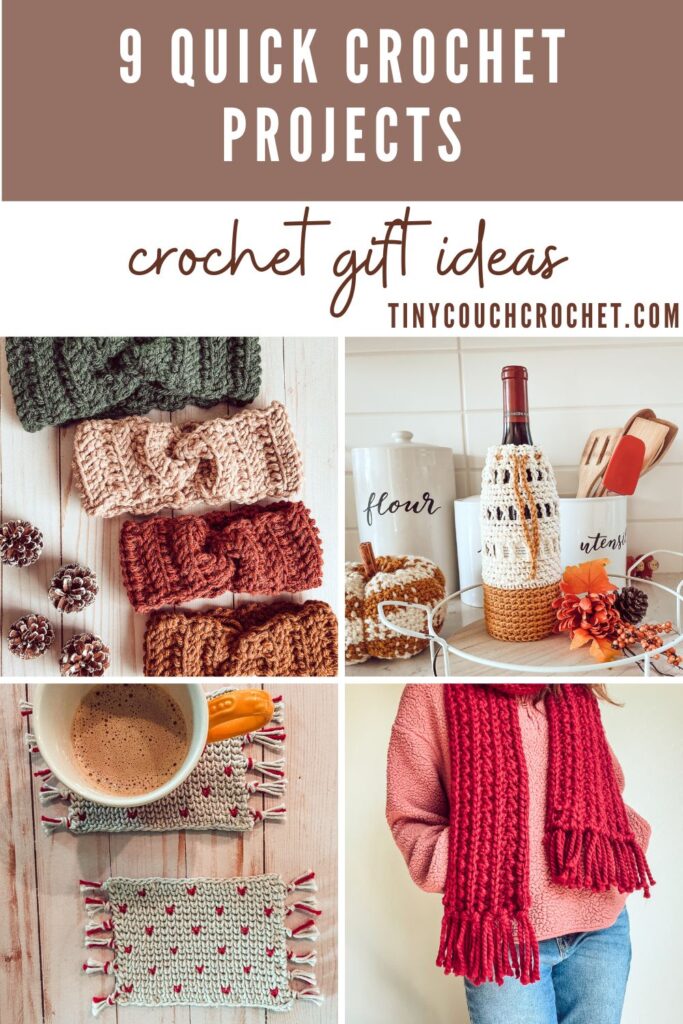
You can also check out this list of 9 quick crochet projects that make great gifts
Don’t forget to save this to your favorite Pinterest board so that you can easily find it when you need it. Pin it here!

This post may contain affiliate links, which means I receive a small commission, at no extra cost to you, if you make a purchase using this link.
Before we get started, note that this list is full of traditional crochet stitches. There is another method of crochet called Tunisian crochet that often has even more knit-like results. If you’d like to check out some Tunisian Crochet projects, you can find a Beginner Dishcloth here, or the Day Off Tank pattern (which really does look like a knit tank!) here!
About
The following stitches are crochet stitches, that have a knit-like look to them. They are not exact replacements of knit stitches, but do have a knit-like feel.
I used Lion Brand’s Hue + Me yarn in the color Desert for all of the swatches in this post. It’s a Bulky, weight 5 yarn that is a wool and acrylic blend. I love the colors available with this yarn, how easy it is to crochet with this yarn, and the stitch definition you get even though it’s partly wool! You can find Hue + Me yarn here.
I used different hook sizes for different stitches, but they all ranged between a 6.5 mm hook and 8 mm hook for the images below. I highly recommend buying a set of comfortable crochet hooks so that you can easily switch sizes until you get the look and feel you want for each stitch. You can get my favorite set of ergonomic hooks here.
Waistcoat Stitch (or Center Post Single Crochet)

Description:
The Waistcoat stitch is such a pretty crochet stitch – and you can fool even experienced fiber artists with this one! It is a dense stitch that reaches it’s peak “knit-like” look when crocheted in the round, as shown in the photo above. However, you can also crochet this stitch in rows for a unique look.
Looks like:
The Waistcoat stitch looks similar to the knit Stockinette stitch
Pattern:
The pattern is just rows or rounds of Single Crochet, but after Row/Round 1, instead of crocheting into the top stitch as normal you would make a single crochet by inserting your hook in the center of the post, or between the two bars of the vertical V. (This is why it’s other name is the Center Post Single Crochet.) Click here for a full written and photo tutorial of the Waistcoat Stitch.
Project Ideas:
The Waistcoat stitch makes great baskets, cup cozies, anything you can crochet in the round! It’s also perfect for raglans with colorwork.
We have a colorwork coaster using the Waistcoat stitch – Click here for the free Dotted Hearts Mug Rug pattern.
Single Crochet Back Loop Only (Sc BLO)

Description:
When worked in the back loop of your work, Single Crochet stitches make great ribbing! It’s quick to work up and very stretchy, and great for adding depth or texture to your project without overcomplicating.
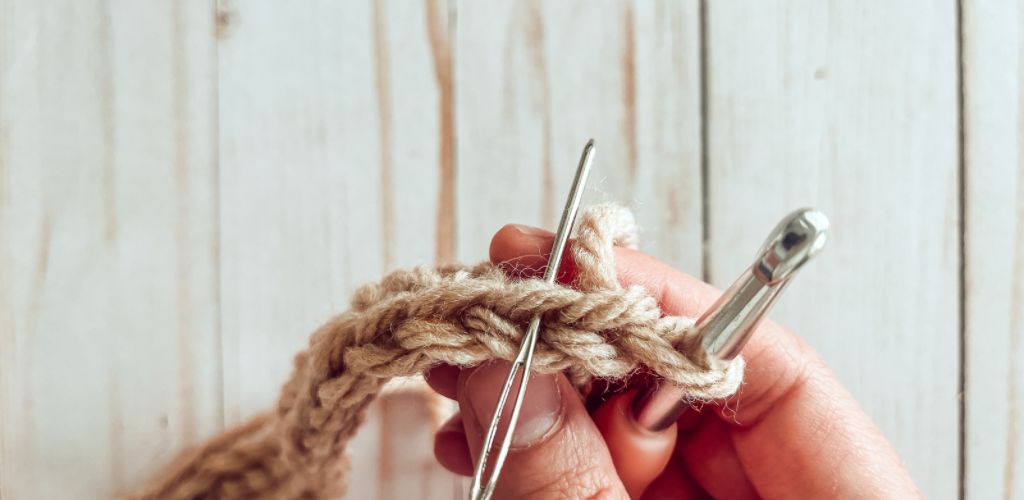
When patterns reference the Back Loop Only or BLO, look at the top of your next stitch. Each stitch has two bars that make a V. Insert your hook only under the bar furthest from you. See photo below for a visual of where to insert your hook.

Looks like:
While this stitch is mostly used for crochet ribbing, it looks similar to the knit garter stitch.
Chain any number, plus 1 for the turning chain.
Row 1: Single crochet in second chain from hook, and each remaining chain.
Row 2: Chain 1 and turn. Single crochet in BLO of first stitch and each stitch remaining to end of row.
Repeat Row 2 to end of project.
Use for ribbing of a sweater, or make an entire blanket out of this stitch if you’re going for major texture and comfort!
The Half Double Crochet Slip Stitch (or Yarn Over Slip Stitch: YoSS, HdcSS, or Hdc – SlSt) in the Back Loop Only

Description:
I’ll forgive this stitch for having such a long name – because it’s one of my absolute favorites, especially when I’m going for a knit-look. The Half Double Crochet Slip Stitch in the Back Loop is very stretchy so keep that in mind when using it! (Another name for this stitch is the Yarn Over slip stitch, Back Loop Only). It’s a dense stitch and a bit of a yarn eater – but just look at that beautiful texture!
Looks like:
This is the perfect crochet stitch for mimicking knit ribbing.
Pattern:
This is a one-row repeat of a special stitch: Yarn over, insert hook into the back loop of the next stitch, pull up a loop, pull first loop on your hook through remaining loops on your hook. Click here for a full written and photo tutorial of the Half Double Crochet Slip Stitch in the Back Loop.
The obvious one is ribbing! You can even crochet sleeves with the cuffs in one go by switching from half double crochets for the sleeve, to HdcSS for the cuffs. But don’t be afraid to use this stitch to add texture to a sweater or blanket! Just keep in mind that it is dense and stretchy.
We have a few patterns that include this stitch because it’s just so pretty! See list below
- Click here for the free Snowdrift Beanie pattern.
- Click here for the free Snowdrift Scarf pattern.
- Click here to check out the Persephone Pullover pattern – this stitch is used for the ribbing.
The Moss Stitch (or Linen Stitch)

Description:
Do I keep claiming each stitch as my favorite stitch? Because this is definitely a favorite of mine! This stitch alternates single crochets and chains for instant texture! It has many names, including the Moss Stitch, Linen Stitch and Woven Stitch – but whatever you call it, it’s a great go-to for a modern look.
Looks like:
This crochet stitch looks like the knit linen stitch (which is probably why one of its many names is also the crochet linen stitch)
The idea is to alternate single crochets with chains, and as you move up each row, you crochet single crochets into the chain space below, and chain over the single crochet below. For a full written and photo tutorial of the Moss Stitch, click here.
Project Ideas:
Project ideas for the moss stitch are endless! I instantly think of garments, blankets, and washclothes, but you really can’t go wrong with this stitch.
The Camel Stitch

Description:
The camel stitch is an easy way to get those beautiful braids that look like they could be knit. The photo above is the camel stitch in rows – but it can also be crocheted in rounds, making the braids even closer together.
Looks like:
Knit ribbing; a combination of knit stitches including the Stockinette stitch
Pattern:
The basic idea is to crochet Half Double Crochets in the 3rd loop. This can be done in rows or in the round, with different results (although each method has a knit look!) Click here for full patterns of the Camel stitch in 3 different ways.
In the round, this stitch creates beautiful baskets and cup cozies, and adds texture to beanies or hats. In rows, I like to use it every once in a while for texture. I’m working on a stitch sampler baby blanket that includes this stitch, and will update with a link when it’s available.
The Herringbone Single Crochet

Description:
I couldn’t believe this stitch existed when I first found it! While I love the Herringbone Double and Half Double Crochet stitches, they don’t have that true herringbone look. But THIS stitch does!! I would call it an intermediate stitch, so if you’re a beginner and you get stuck, don’t worry. Come back in a few months and try it again – it’s worth it!
Looks like:
The herringbone single crochet looks like the herringbone knit stitch!
Pattern:
This pattern is a two-row repeat that is better described in a full post – but I do have a full tutorial! Click here for the Herringbone Stitch tutorial.
Project Ideas:
This is a dense stitch, and would make a beautiful beanie or sweater! Just keep in mind it works up in rows.

Description:
The Rice Stitch is made out of Front Post Double Crochets and Back Post Double Crochets. The result is this beautiful texture with a modern look! And the best part is that once you get Front Post/Back Post stitches down, you can use them to mimic plenty of other knit-like looks – like the Basketweave stitch and Cables!
Looks like:
The Rice stitch looks like the knit Seed stitch.
Pattern:
The pattern alternates Front Post Double Crochet with Back Post Double Crochet. You can find the full Rice Stitch tutorial here!
Project Ideas:
The rice stitch can be made in rows or rounds – and is perfect for baskets and beanies.
We have a velvet pumpkin pattern using this stitch. (I normally wouldn’t recommend this stitch for amigurumi or anything with stuffing – but with a small hook and velvet yarn, it made for beautifully textured velvet pumpkins!)

Description:
Creating an entire piece out of only slip stitches takes patience – but can have beautiful results. If you are looking to create a dense, sturdy fabric, try slip stitching the whole thing! This stitch probably looks most like the knit garter stitch out of all of the crochet stitches mentioned but is much thicker than the knit version.
Looks like:
The garter stitch
Pattern:
Chain any number, plus 1 for the turning chain.
Row 1: Slip stitch in second chain from hook, and each remaining chain.
Row 2: Chain 1 and turn. Slip stitch in first stitch and each stitch remaining to end of row.
Repeat Row 2 to end of project.Project Ideas:
If you have patience, you can make a blanket out of slip stitches – but I might alternate rows of slip stitches with rows of another stitch. This stitch in the round would make a great sturdy basket!
Slip Stich in the Back Loop Only (SlSt BLO)

Description:
This stitch is my absolute favorite for crochet ribbing. (OK… maybe it’s tied with the HDC Slip Stitch!) It’s not a quick stitch but the end result is beautiful, stretchy, and warm!
Looks like:
Knit ribbing, the stockinette stitch
Pattern:
Chain any number, plus 1 for the turning chain.
Row 1: Slip stitch in the second chain from hook, and each remaining chain.Row 2: Chain 1 and turn. Slip stitch in the Back Loop Only of the first stitch and each stitch remaining to end of row.
Repeat Row 2 to end of project.
Project Ideas:
Ribbing, ribbing, ribbing! Especially for hats/ beanies when you want to keep nice and warm.
I hope you have fun trying these stitches!
If you have any questions or have any stitches to add, let me know in the comments! 🙂
Hap
py Stitching! – Ashley

