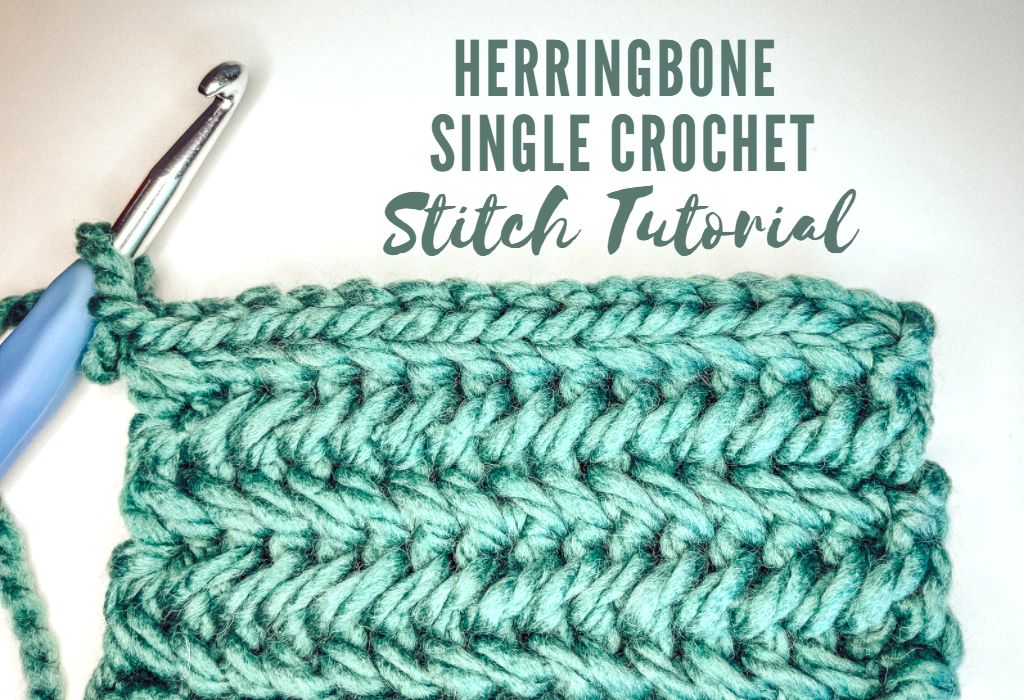
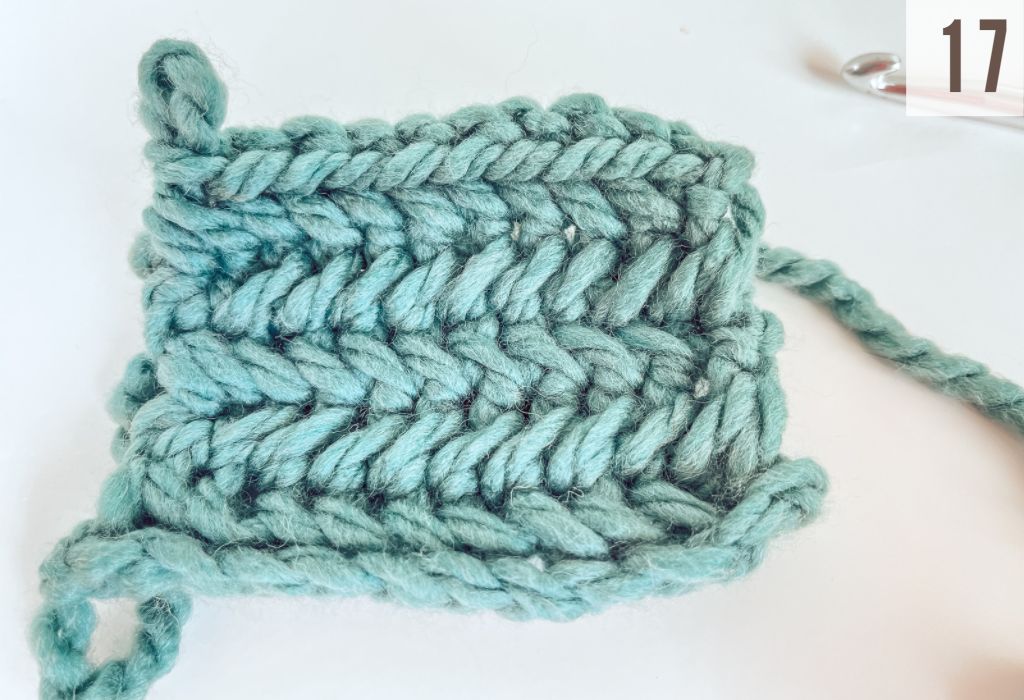
Have you been on the hunt for modern crochet stitches? This stitch looks clean, fresh, and looks like it could even be knit. But it’s all crochet! The Herringbone Single Crochet stitch has a true herringbone look to it. While it’s not the fasted stitch to work up, or the easiest, the result is a unique crochet stitch that is so worth it.
I will say that it can take a few swatches to get this stitch down, so don’t give up! Once it ‘clicks’, it’s really quite simple.
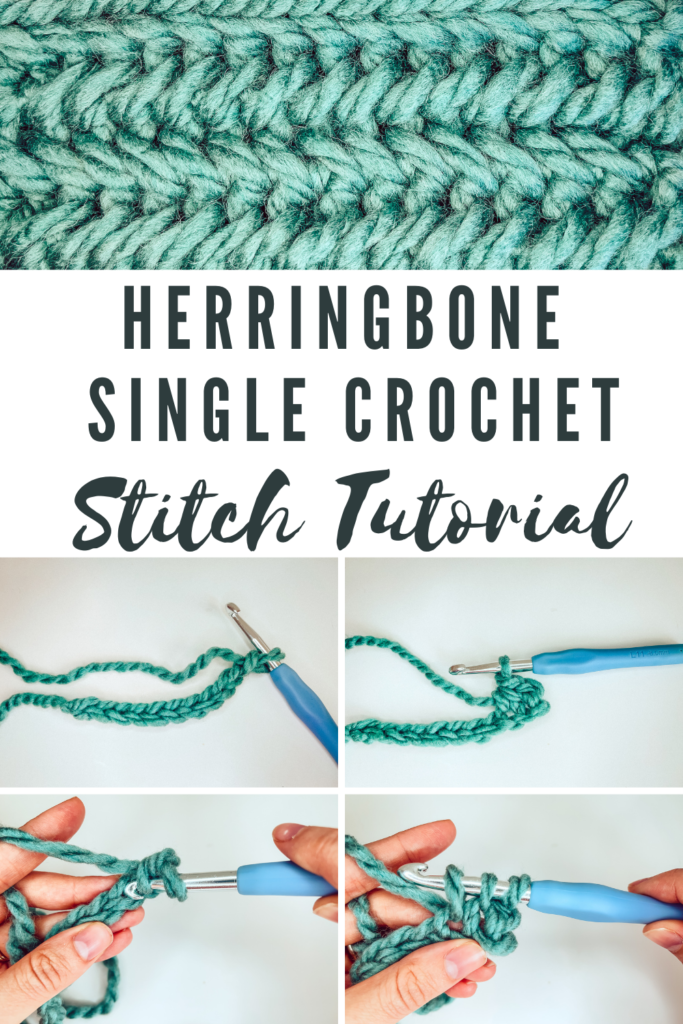
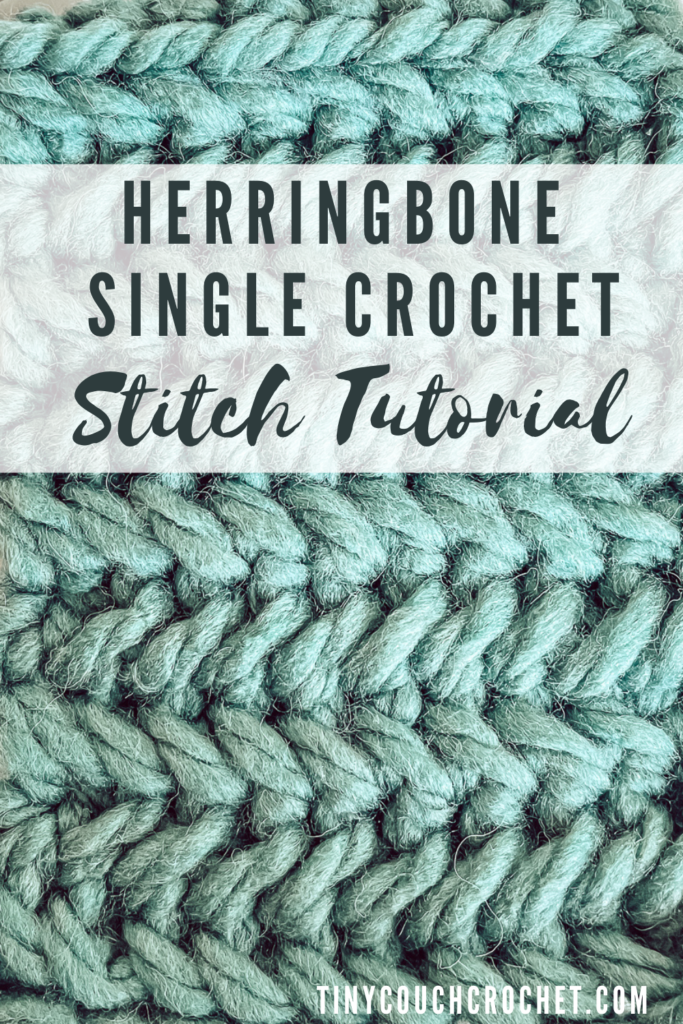
Scroll down for instructions and photo tutorial. Or, Pin the image below to save it for later.
This post may contain affiliate links, which means I receive a small commission, at no extra cost to you, if you make a purchase using this link.
When to use the Herringbone Single Crochet Stitch
This stitch is so clean and pretty to look at, I can’t wait to use it in some patterns. I can see it being used for beanies, headbands, bags, sweaters, chunky blankets, the list goes on! It is a one-sided pattern in that there is a clear side that looks Herringbone, and a side that doesn’t, so keep that in mind when choosing your projects. For example, it might not be the best fit for a scarf. It’s also a tight stitch, so I would recommend keeping your stitches loose if possible. If you are looking for something with drape, try going up a hook size or two from what the yarn label recommends.
Speaking of yarn, this stitch will look great with just about anything, except for fuzzy/textured yarns – they’ll hide the clean lines of this stitch. I’m planning on getting my hands on some home decor yarn to show off these lines – can’t you picture this stitch on a cup cozy?
Skills to Know
You’ll need to know all the crochet basics, like how to chain and single crochet (U.S. terminology), where you would typically place your hook, etc. (if you need to brush up on these skills, click here for a beginner’s tutorial!) I don’t recommend trying this stitch out as a true beginner, but do practice basic stitches and come back! My Mug Rug for Beginners pattern is a great place to start 🙂
This stitch also requires knowledge of how to do reverse stitches, but if you’ve never done a reverse stitch before don’t worry. It is simply placing the hook into the stitch the opposite way – so instead of inserting the hook into a stitch so that it is pointing away from you, insert the hook through the stitch from the backside and toward you. Photo tutorials are given with the instructions below.
Abbreviations (U.S. Terminology):
Ch = Chain
St = Stitch
Yo = Yarn Over
RS = Right Side
WS = Wrong Side
SC = Single Crochet (insert hook into stitch, pull up a loop, Yo and pull through both loops on hook)
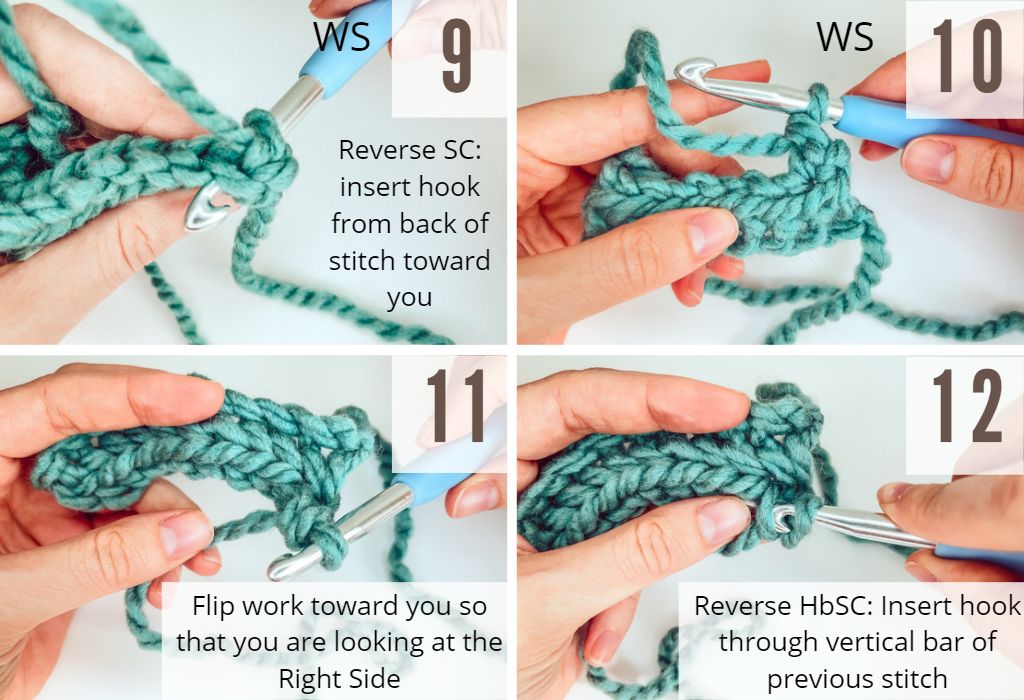
Reverse SC = Reverse Singe Crochet (insert hook into stitch from the backside of the stitch, and toward you. Pull up a loop, Yo and pull through both loops on hook)
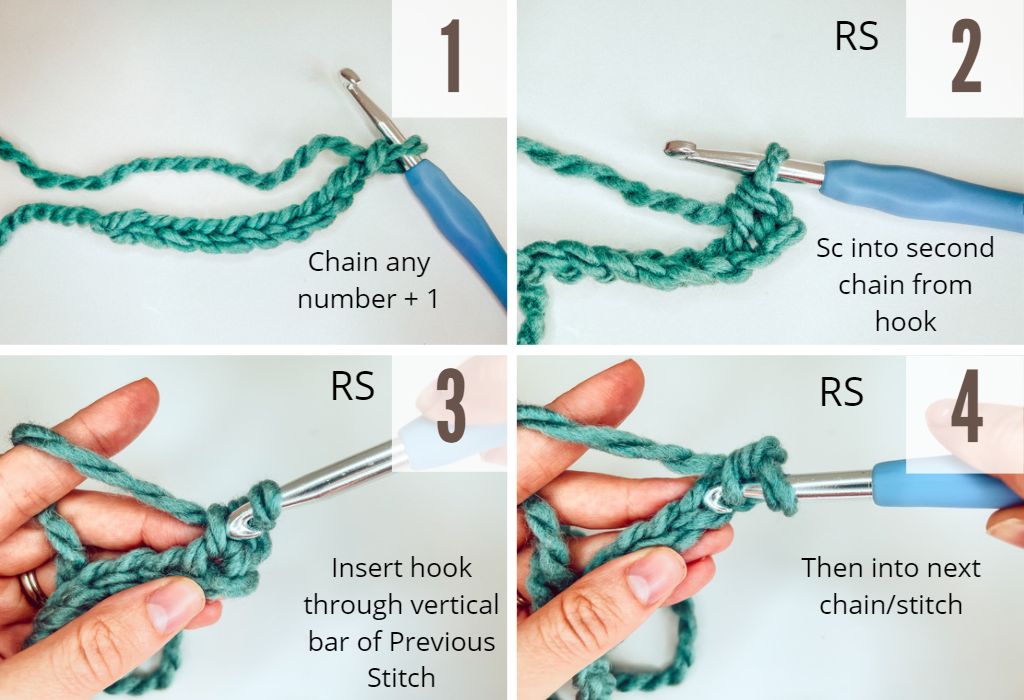
HbSC = Herringbone Single Crochet (insert hook through vertical bar of the previous stitch and into the next stitch. Pull up a loop, Yo and pull through all three loops on hook)
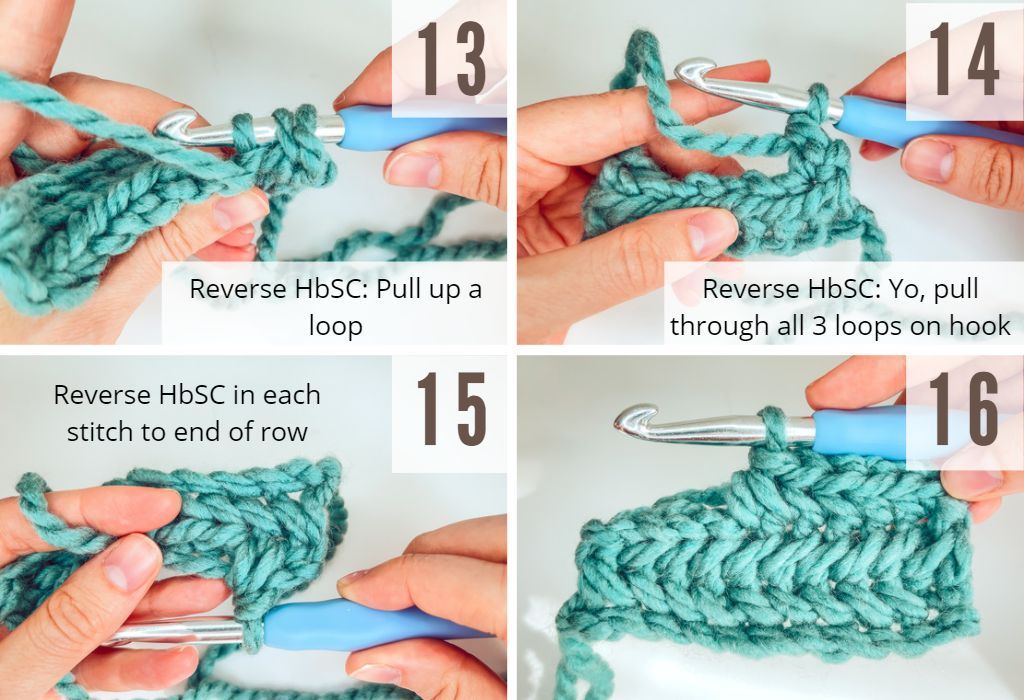
Reverse HbSC = Reverse Herringbone Single Crochet (looking at the Wrong Side of your work, insert hook through vertical bar of the previous stitch, then into the next stitch from the backside of the stitch, and toward you. Pull up a loop, Yo and pull through all three loops on hook)
Pattern Notes
There will be a Right Side (RS) and Wrong Side (WS) to this pattern – one side of you work will look like a herringbone pattern (the Right Side) and the other will not (Wrong Side). This will be an important distinction when reading the pattern below.
The pattern is worked in rows.
Herringbone Single Crochet Pattern
Foundation: Chain any number plus 1.
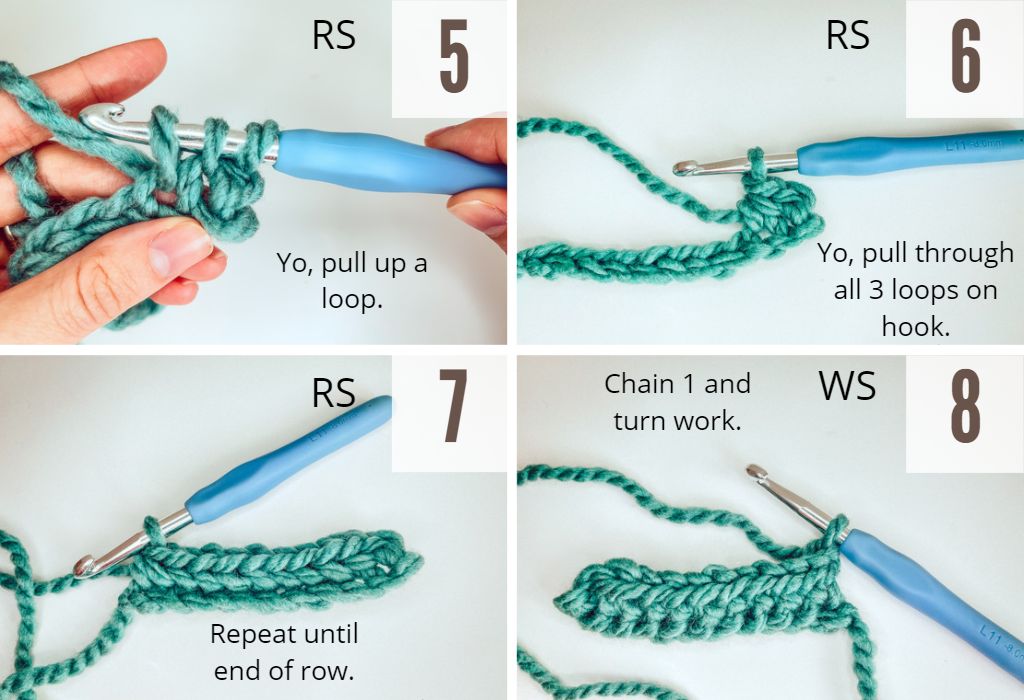
Row 1 (RS): SC in 2nd chain from hook. HbSC in next chain and each remaining chain. (See Photos 1 – 7 in the Photo Tutorial below)
Row 2 (WS): Chain 1 and turn work. Rotate work slightly so that you can see the RS. Reverse SC in first stitch. Reverse HbSC in next stitch and each remaining stitch. (Note – you are essentially repeating row 1 but backwards, from the opposite side of your work. See Photos 8 – 15 in the Photo Tutorial below)
Row 3 (RS): Chain 1 and turn work. Sc in first stitch. HbSC in next stitch and each remaining stitch.
Repeat Rows 2 and 3 to end of project.
Photo Tutorial
Looking for more modern crochet stitch tutorials? Check out the posts below!
- Rice Stitch tutorial
- Crossed Double Crochet Stitch
- Waistcoat Stitch
- Herringbone Half Double Crochet
- Camel Stitch tutorial (3 methods)
Happy Stitching! – Ashley